This has been a dream of mine, since ~15 years old, to have a bagged truck. I waited until I got the right truck, finished college, got a good job, got a daily driver and had the money to do it the right way. I knew from the beginning I wanted to do this whole project myself and thanks to GMFS I had enough information to guide me along the way. The goal was to make my 2001 Silverado lay frame on 22's. I started the project on July 07 in my parents garage. Luckily my dad had all the tools necessary to get the job done, especially an arc welded and a MIG welder. But before I could begin I had to clean the garage before I could even pull my truck in.
![Image]()
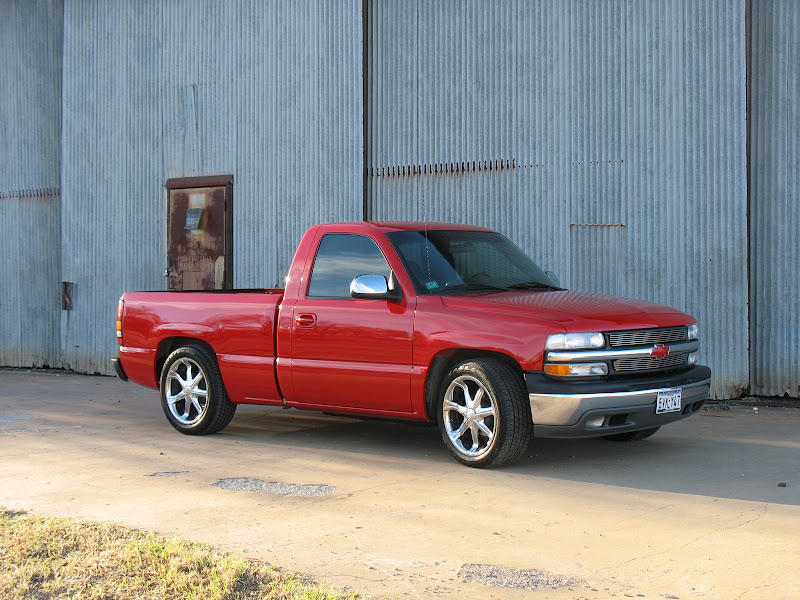
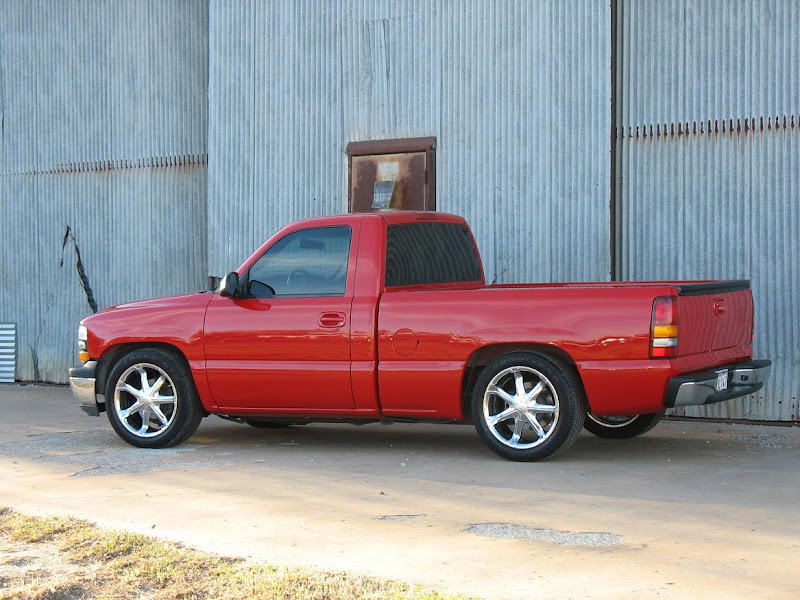
Before (2-4 drop & 20's)
![Image]()
![Image]()
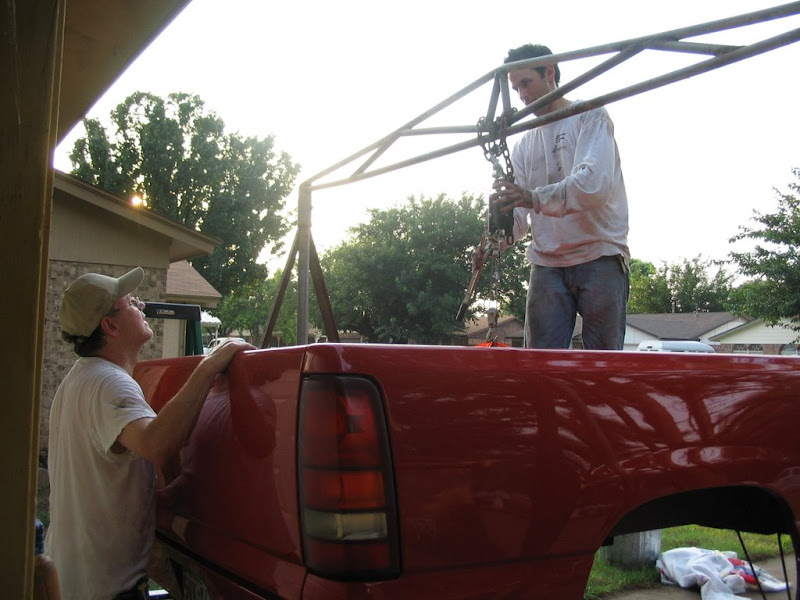
Had to take off the bed
![Image]()
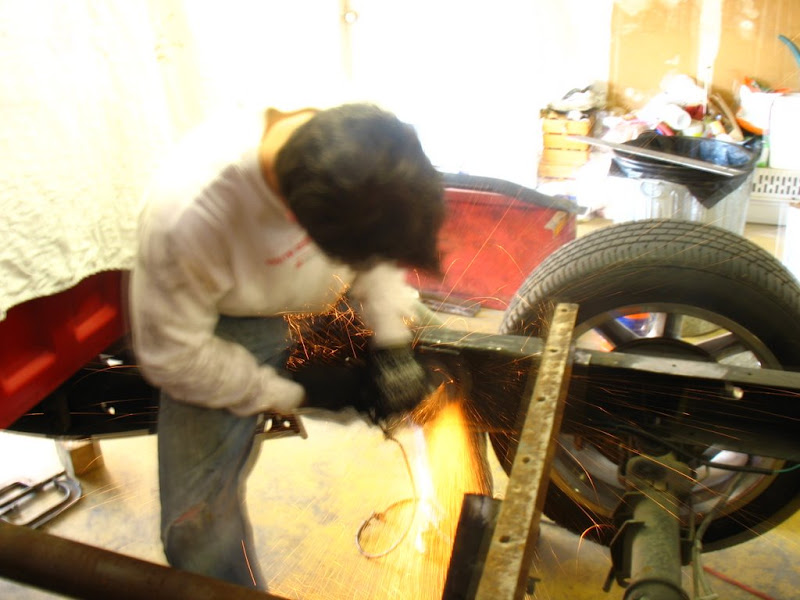
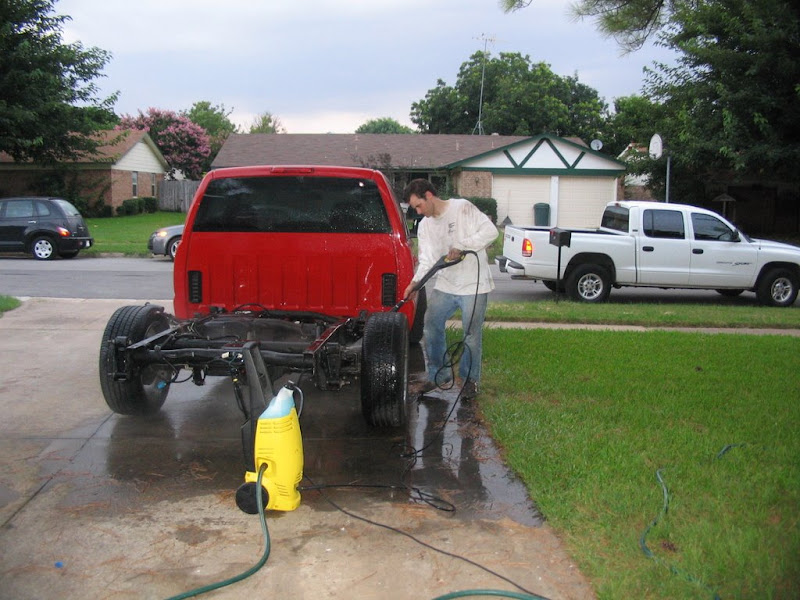
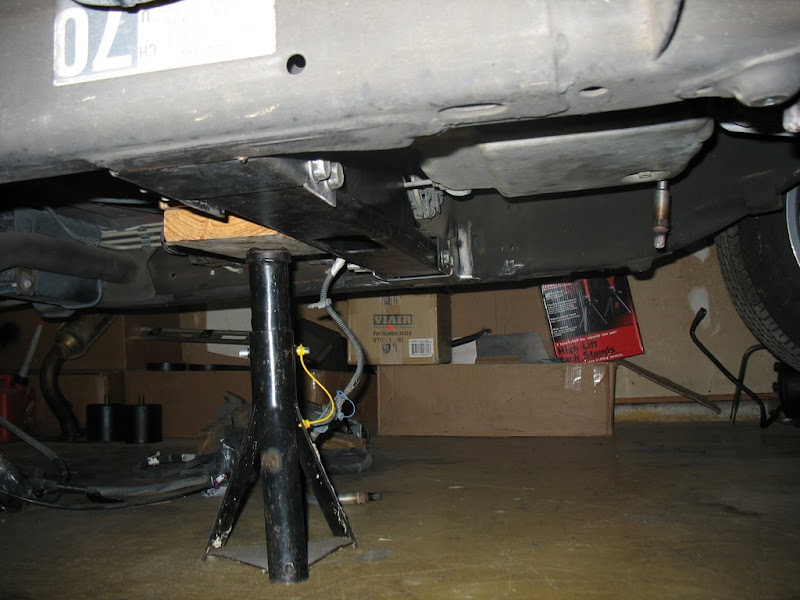
Clean her off
![Image]()
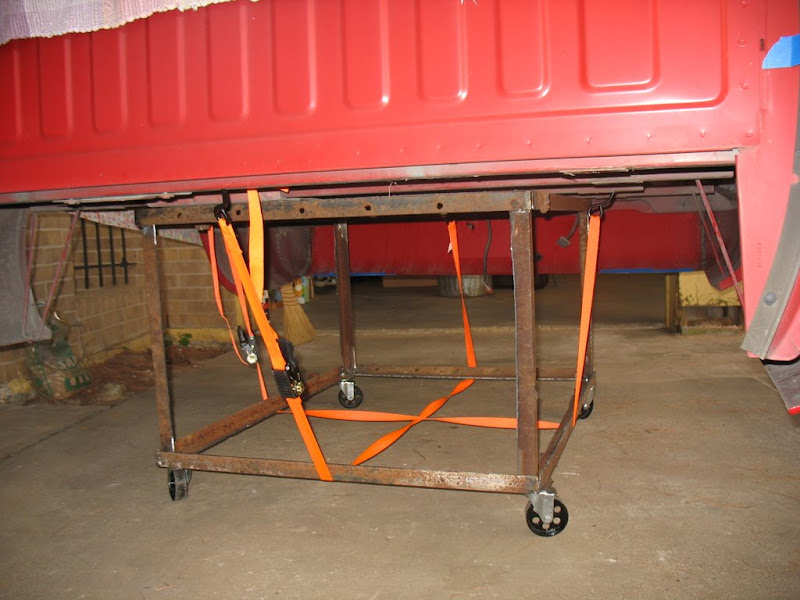
Made a cart for the bed
![Image]()
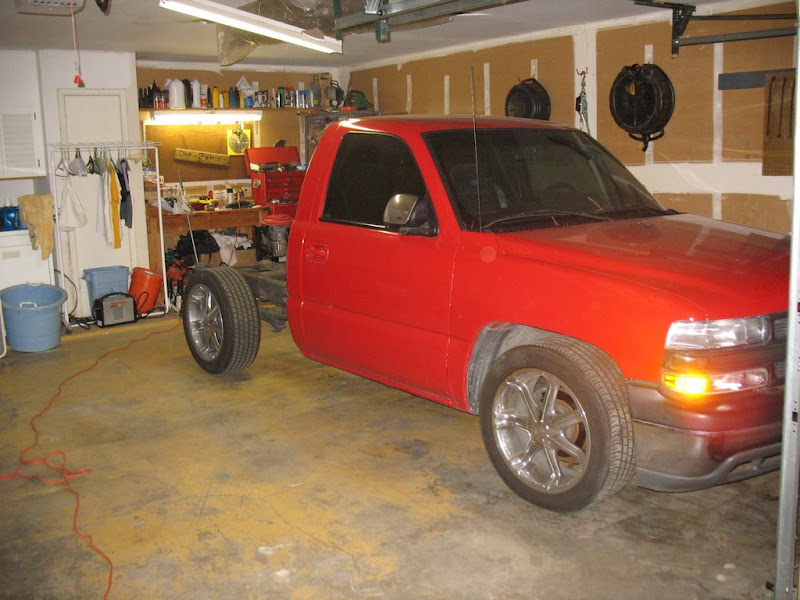
Lets get started!
![Image]()
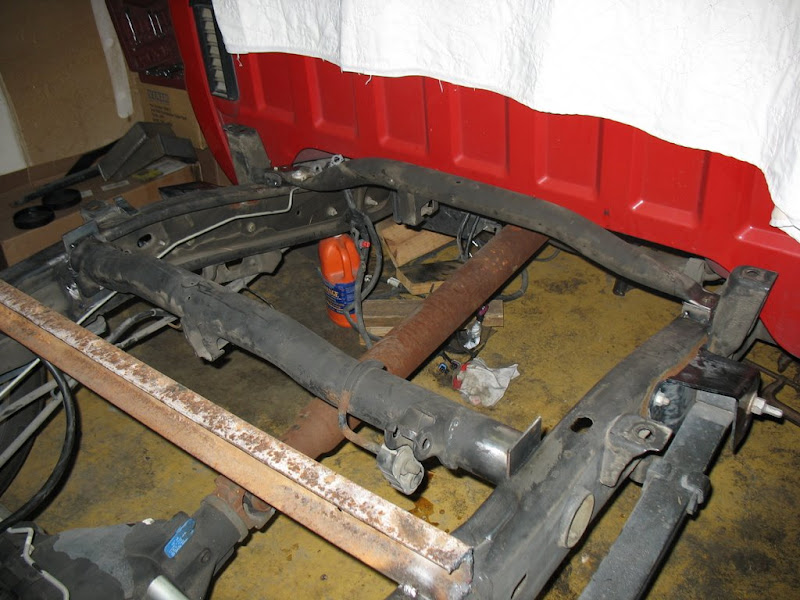
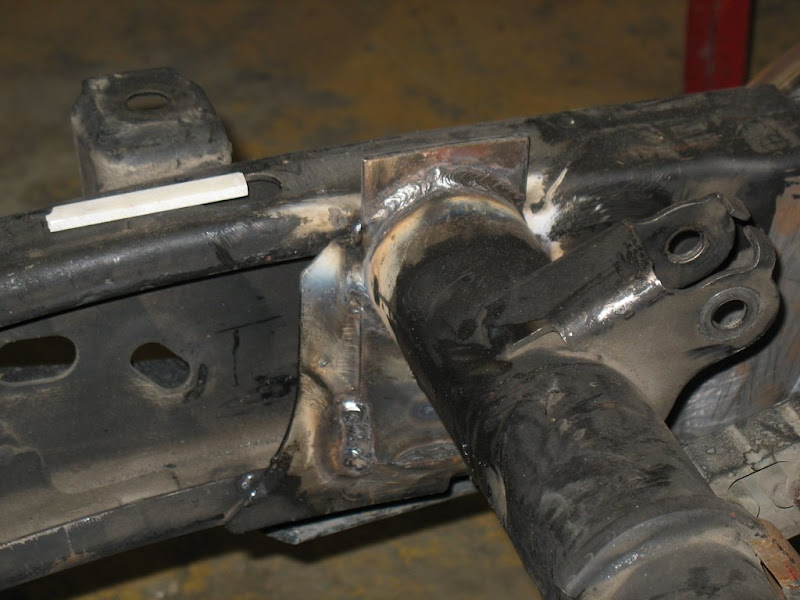
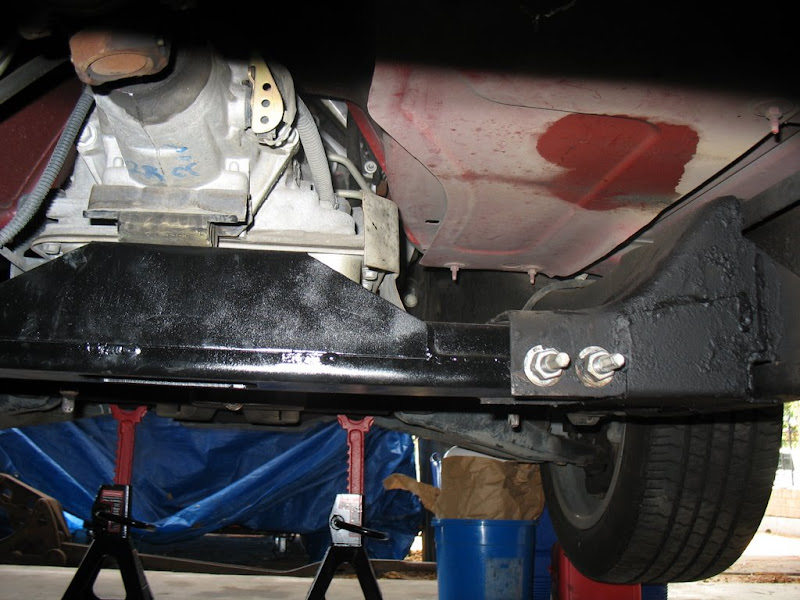
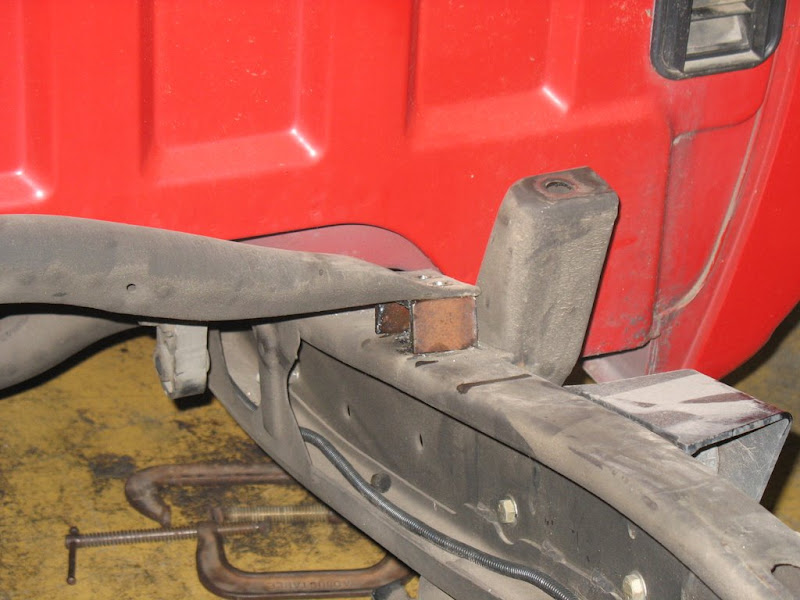
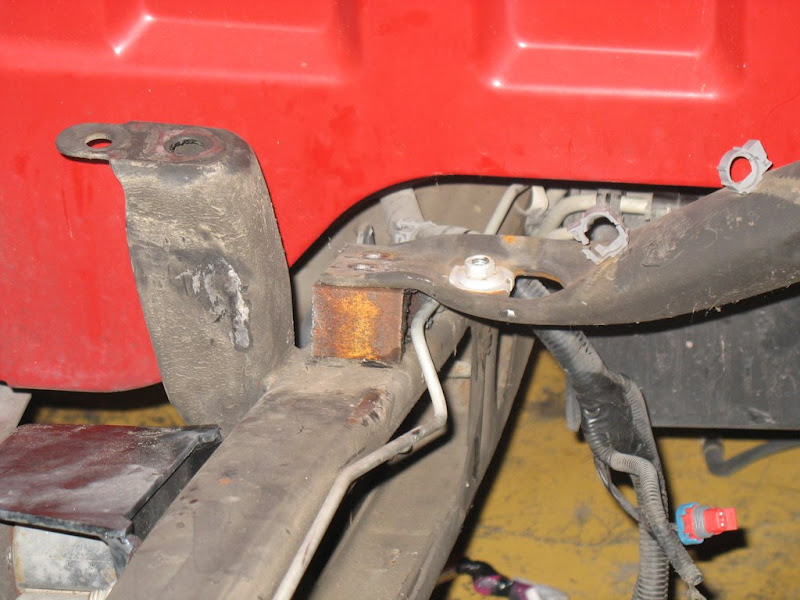
First things firsts. I want this to lay frame so I started altering the objects that prevent it from laying. First the tranny x-member which was KP Components.
![Image]()
![Image]()
![Image]()
![Image]()
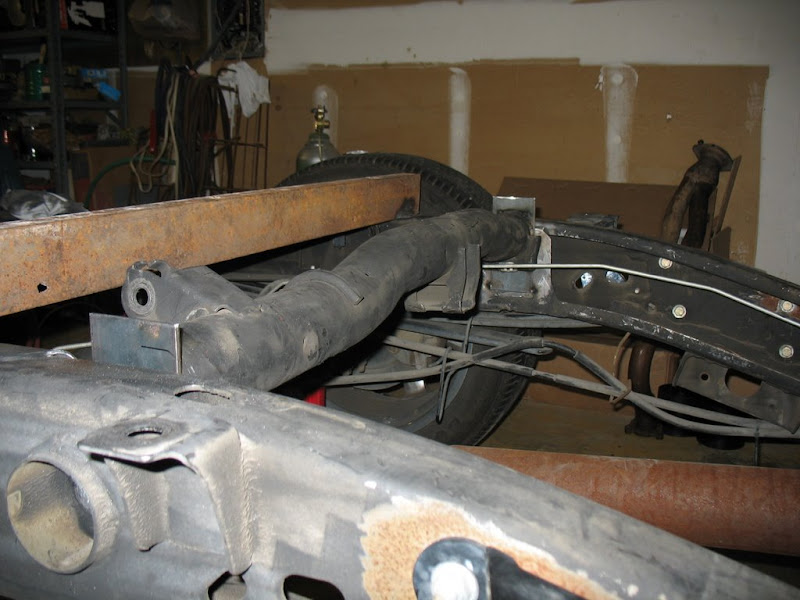
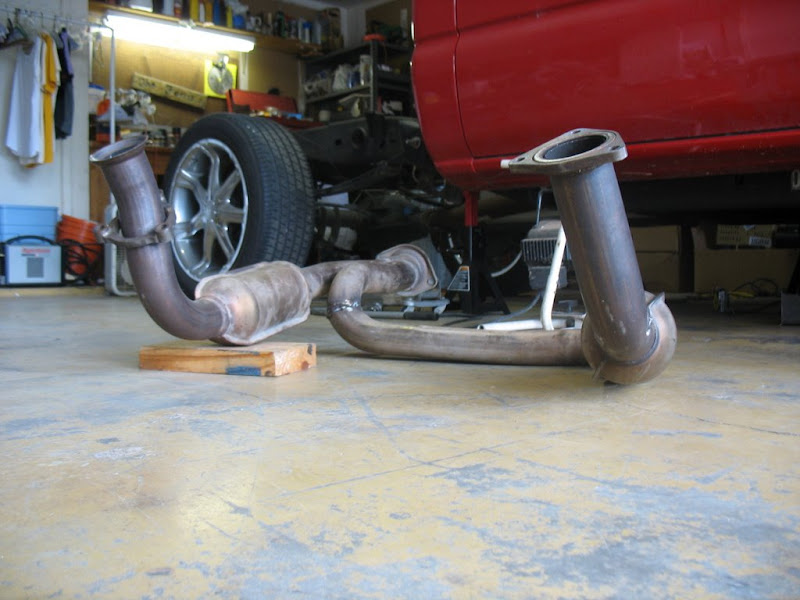
Then I sectioned the exhaust
![Image]()
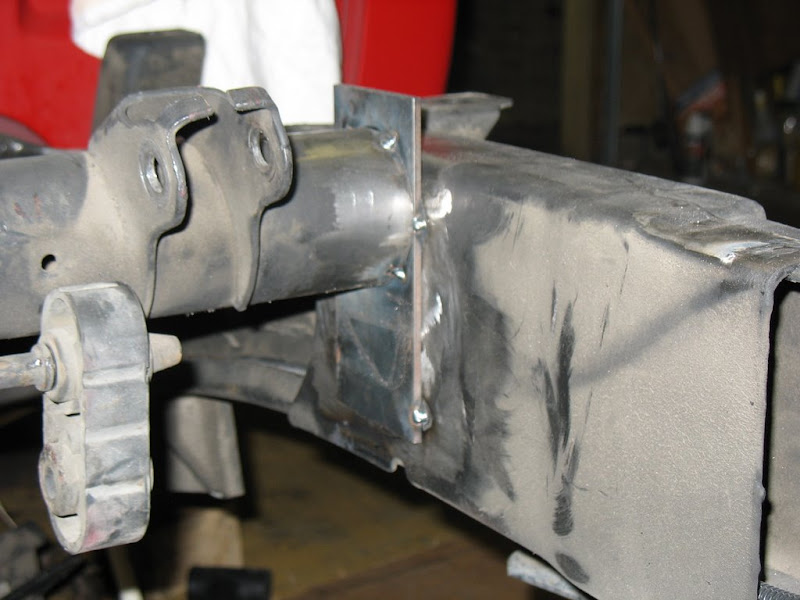
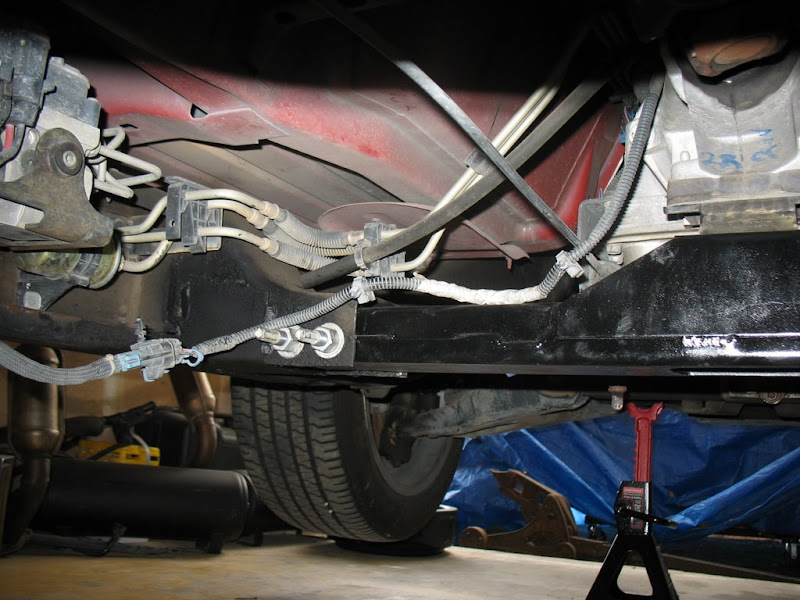
Next was raising the gas tank (1" in the front and 2" in the back). My dad had some U channel steel that I used as spacers for the front crossmember.
![Image]()
![Image]()
Raised the rear crossmember by cutting it at the frame, welding in flat stock to cover the original hole and weld the crossmember back in 2" higher.
![Image]()
![Image]()
![Image]()
![Image]()
![Image]()
![Image]()
Before (2-4 drop & 20's)
Had to take off the bed
Clean her off
Made a cart for the bed
Lets get started!
First things firsts. I want this to lay frame so I started altering the objects that prevent it from laying. First the tranny x-member which was KP Components.

Then I sectioned the exhaust
Next was raising the gas tank (1" in the front and 2" in the back). My dad had some U channel steel that I used as spacers for the front crossmember.
Raised the rear crossmember by cutting it at the frame, welding in flat stock to cover the original hole and weld the crossmember back in 2" higher.